


30 mm hjulbærearme. Kompatible med Land Rover Defender (model før 2016), Disco 1 og Range Rover Classic. T1
30 mm hjulbærearme. Kompatible med Land Rover Defender (model før 2016), Disco 1 og Range Rover Classic. T1
Hurtig kode: 1173
SKU: WMSPACE30TYP1BLK
Normalpris
£129.95Inc VAT£108.29Exc VAT
Normalpris
Inc VAT
£0.00Exc VAT
Udsalgspris
£129.95Inc VAT£108.29Exc VATDel
Tilgængelighed for afhentning kunne ikke indlæses

Brug for hjælp?
Ring til os på +44 (0) 1986 899264, så hjælper vi dig gerne.
 Overensstemmelsescertifikat på alle produkter
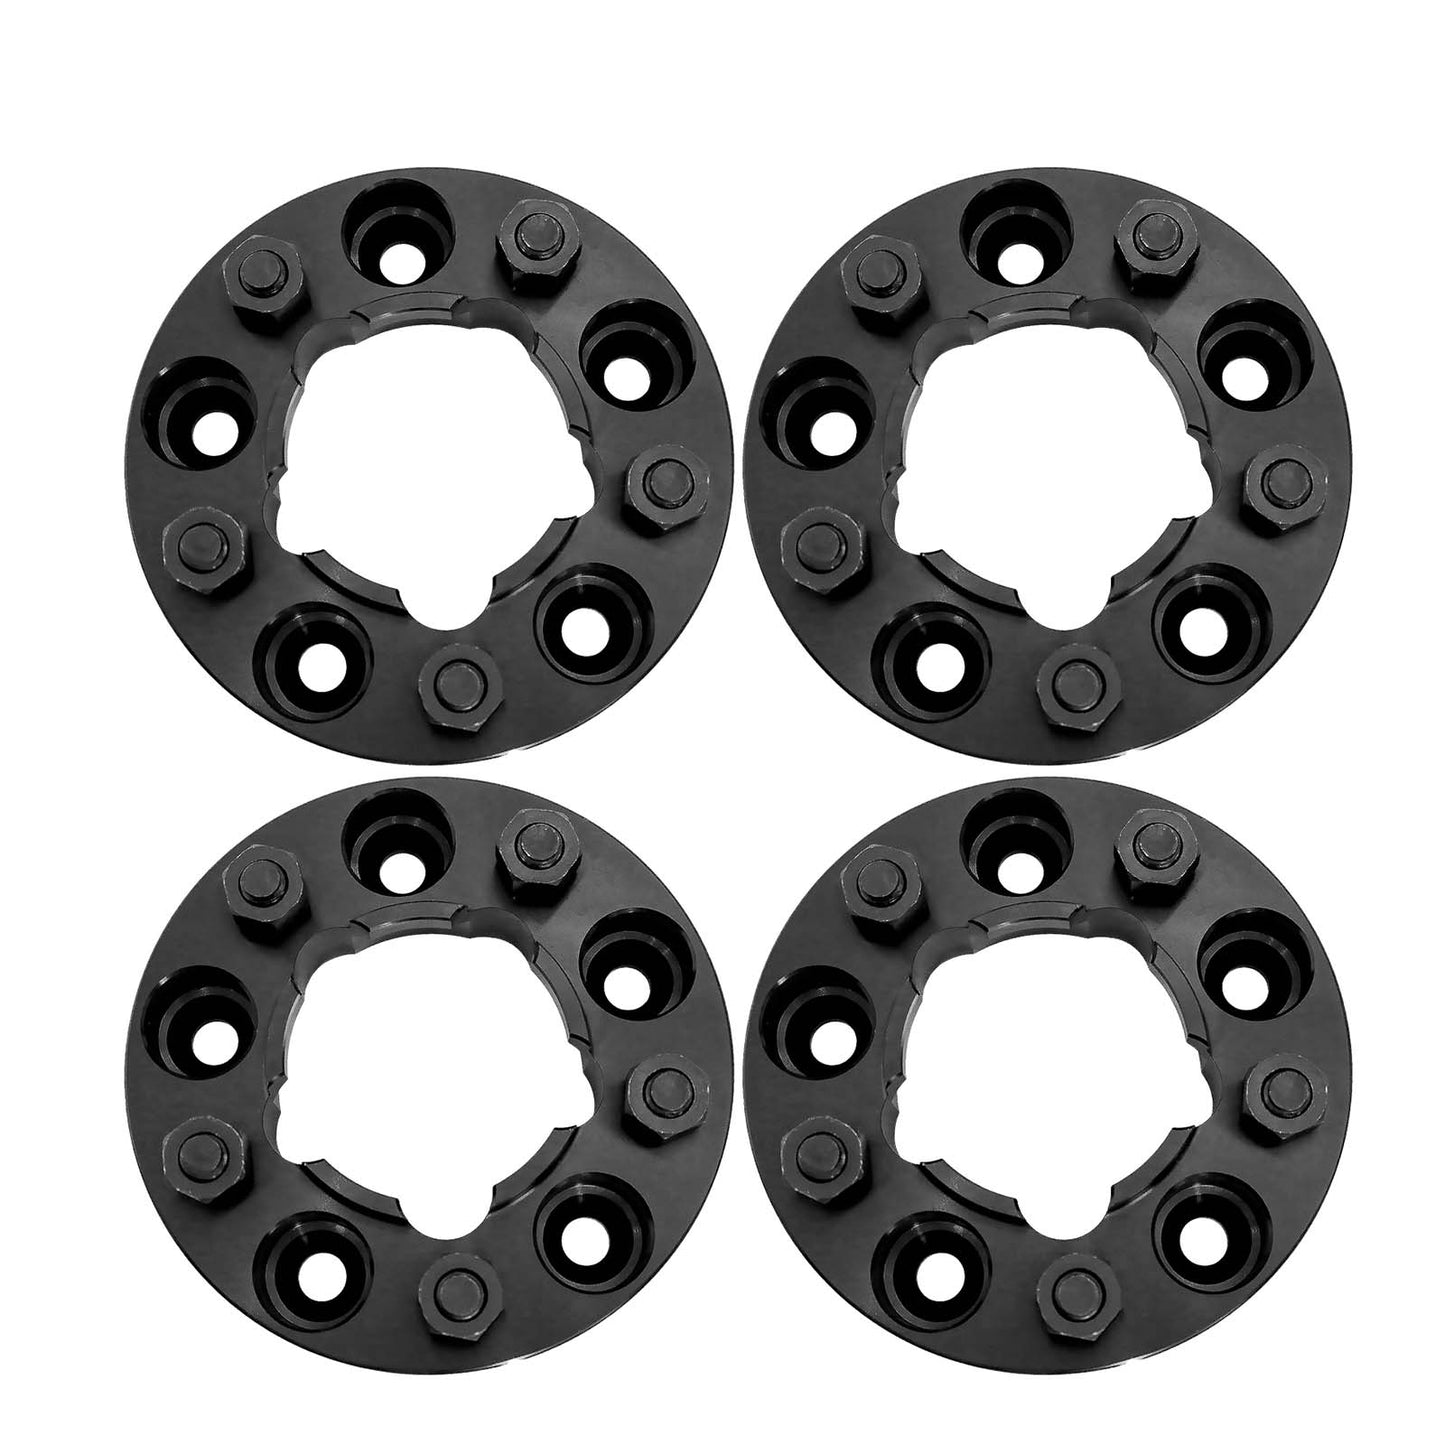
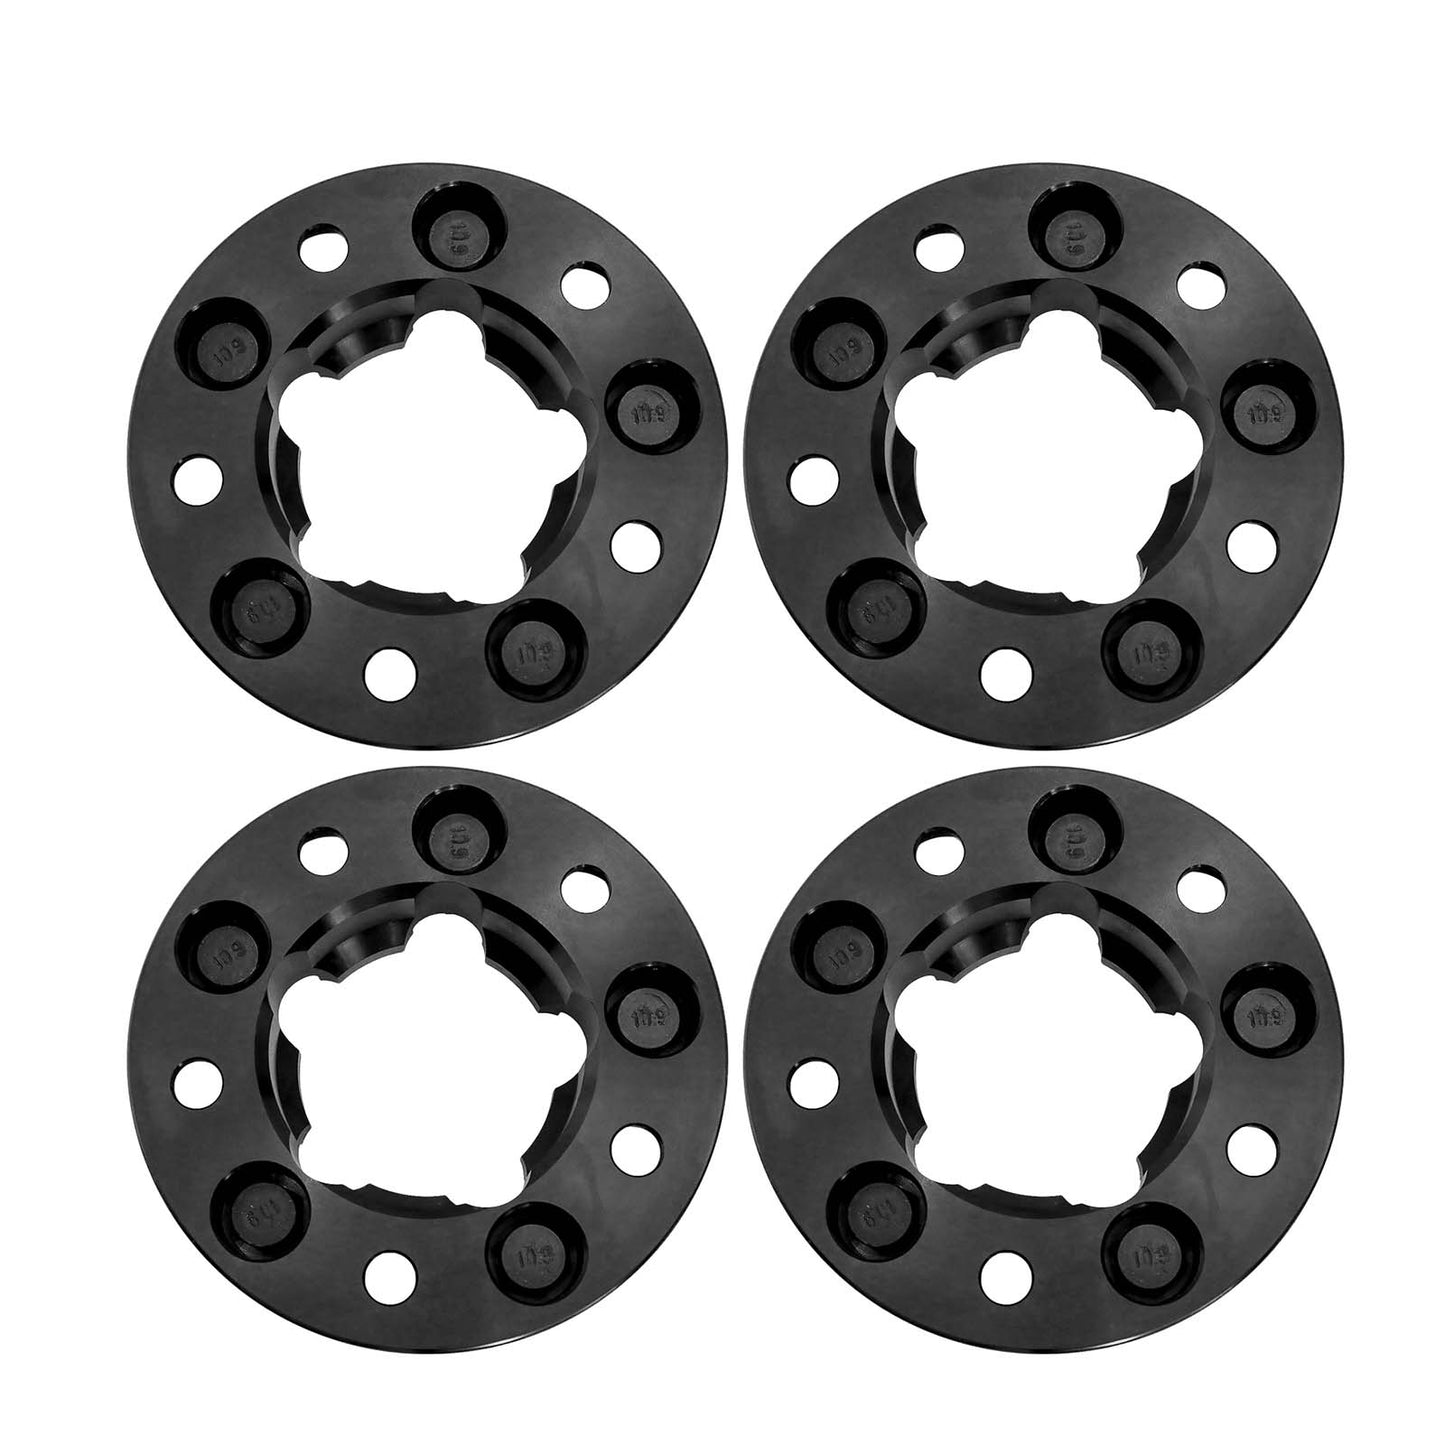
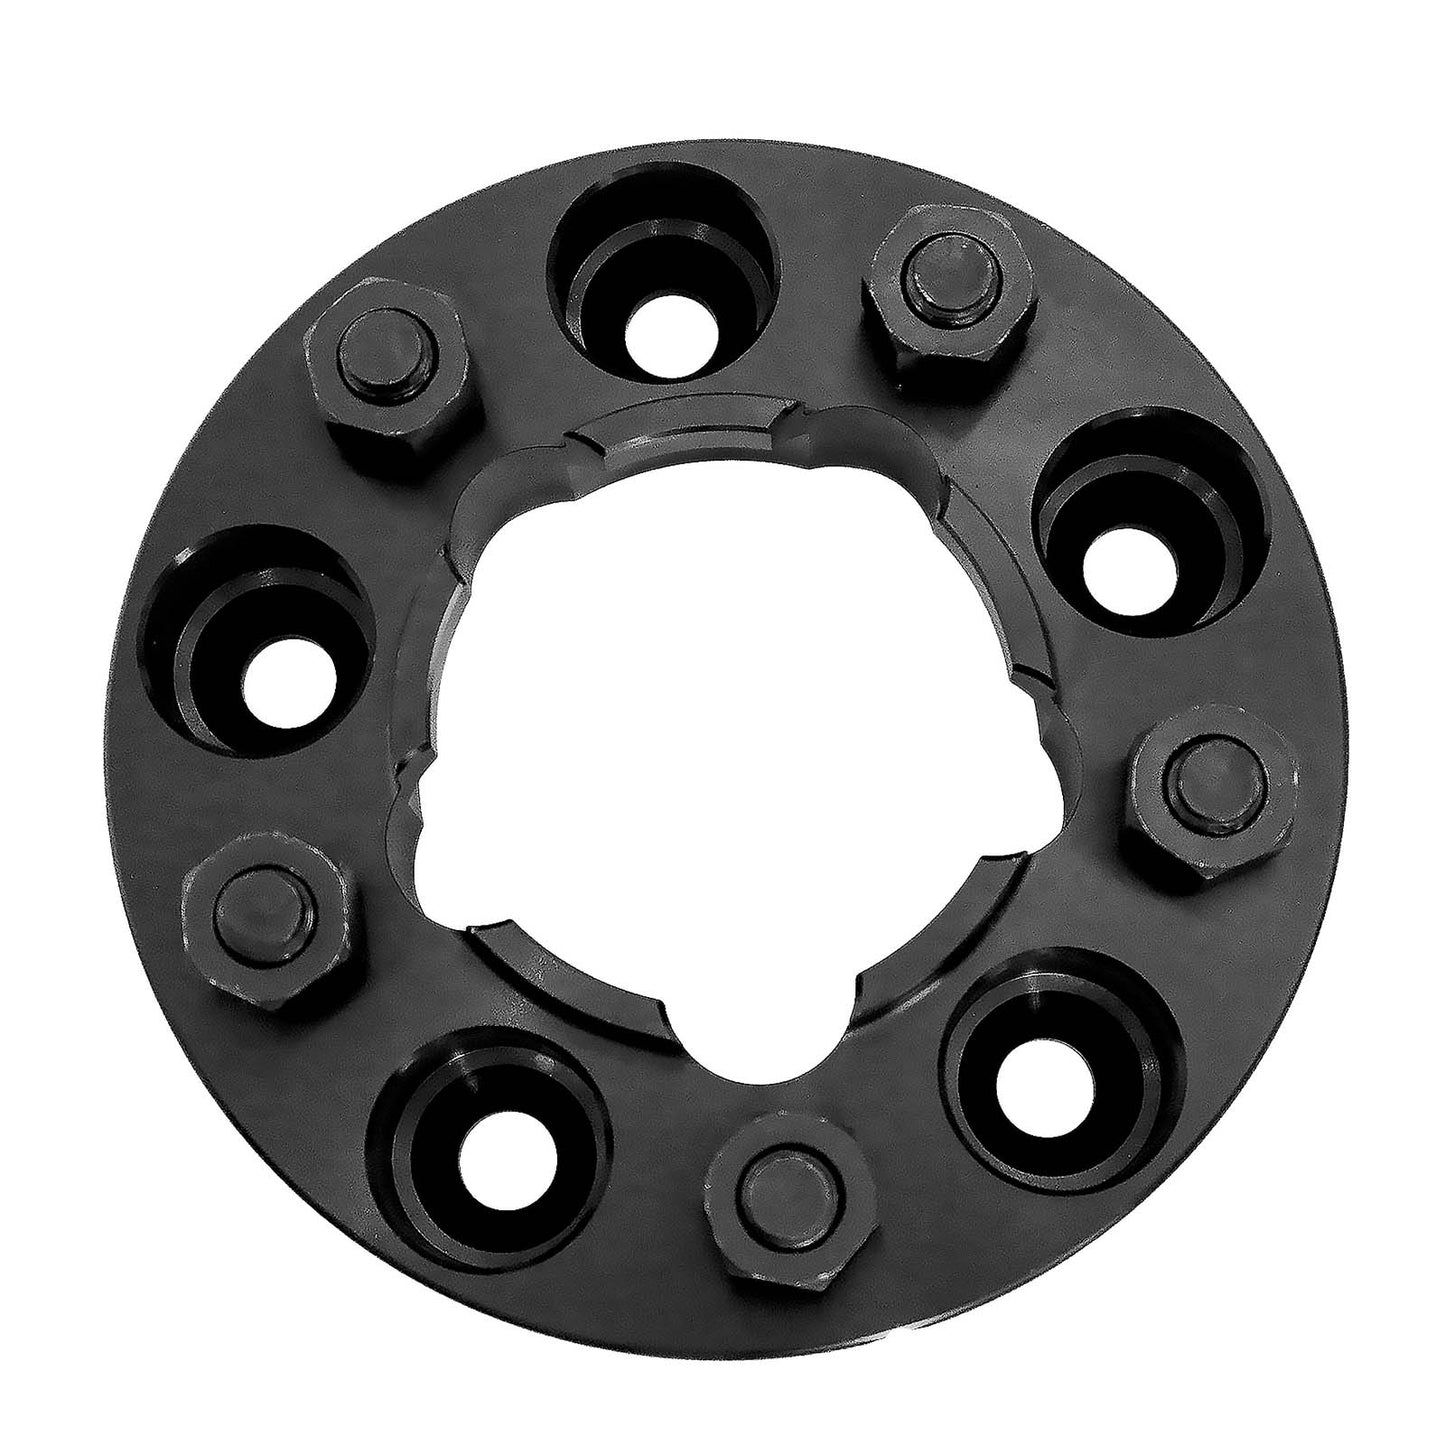
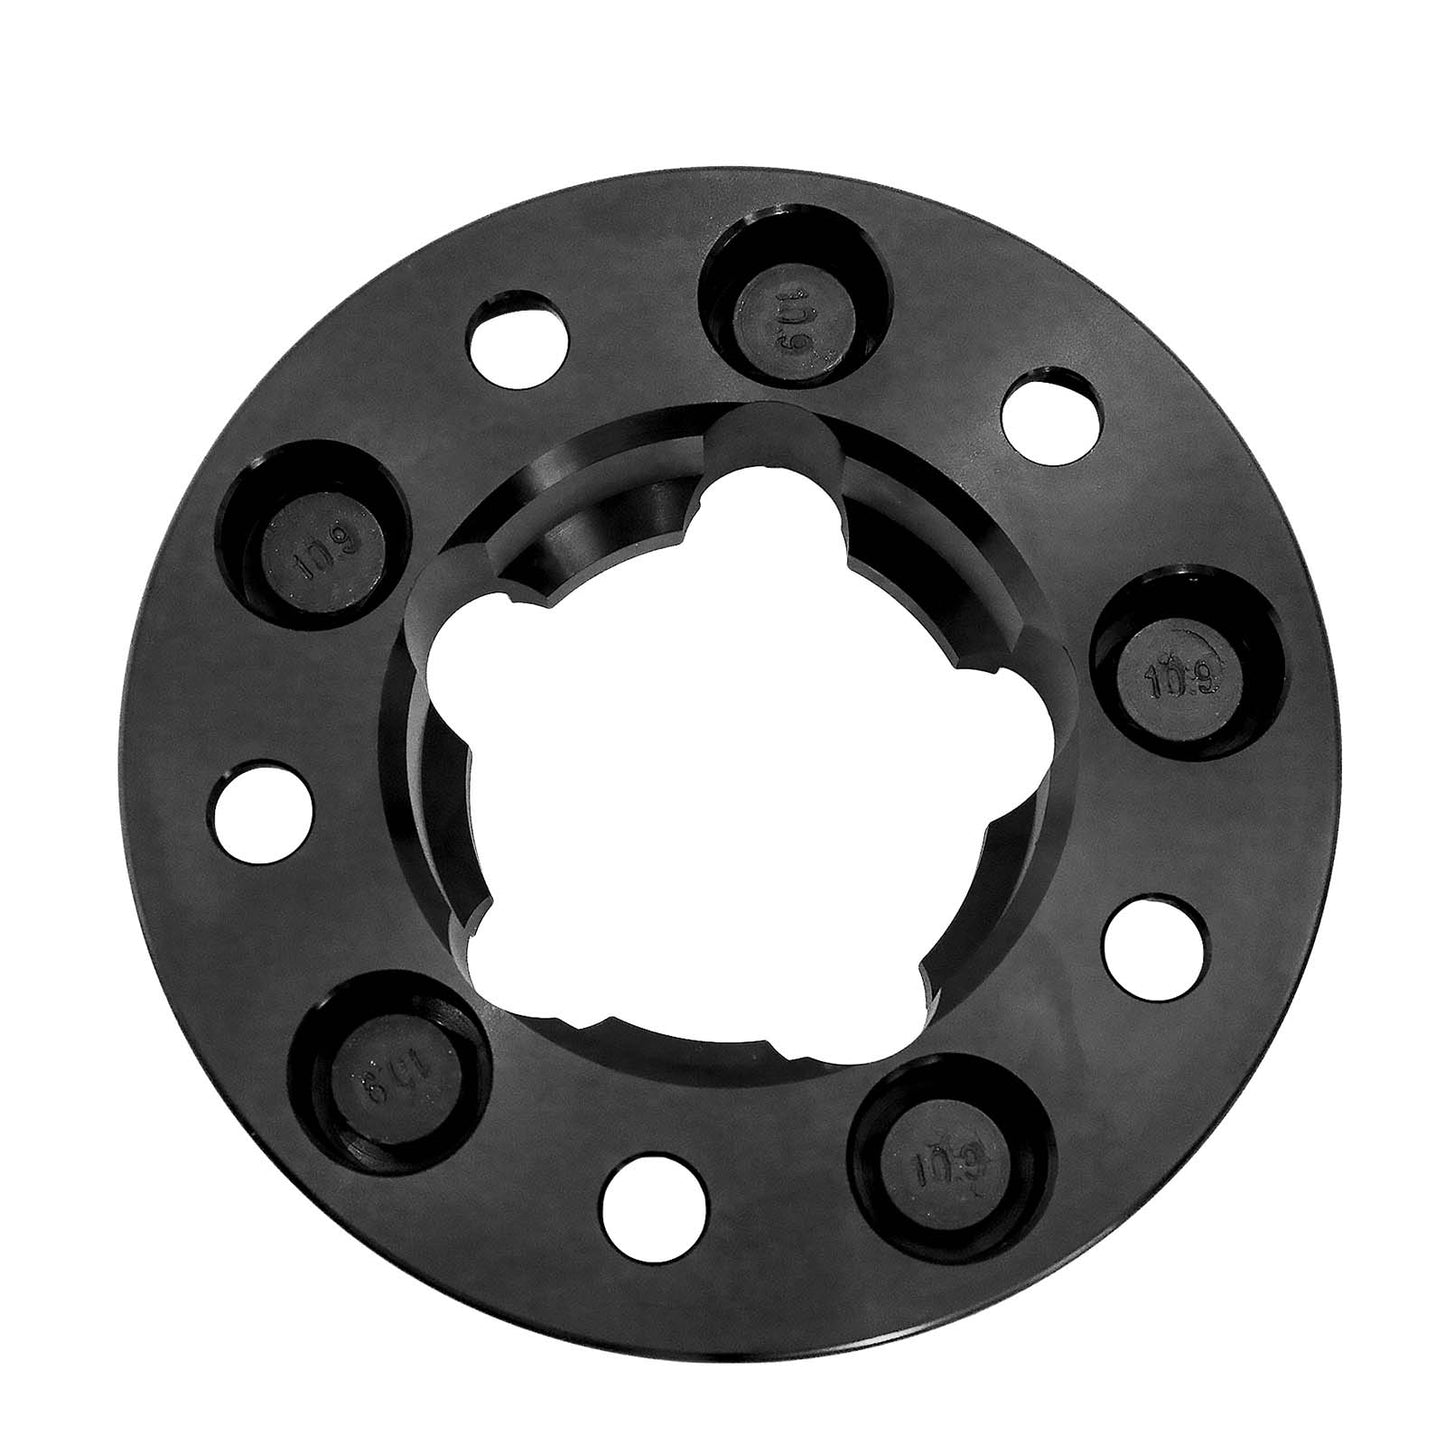
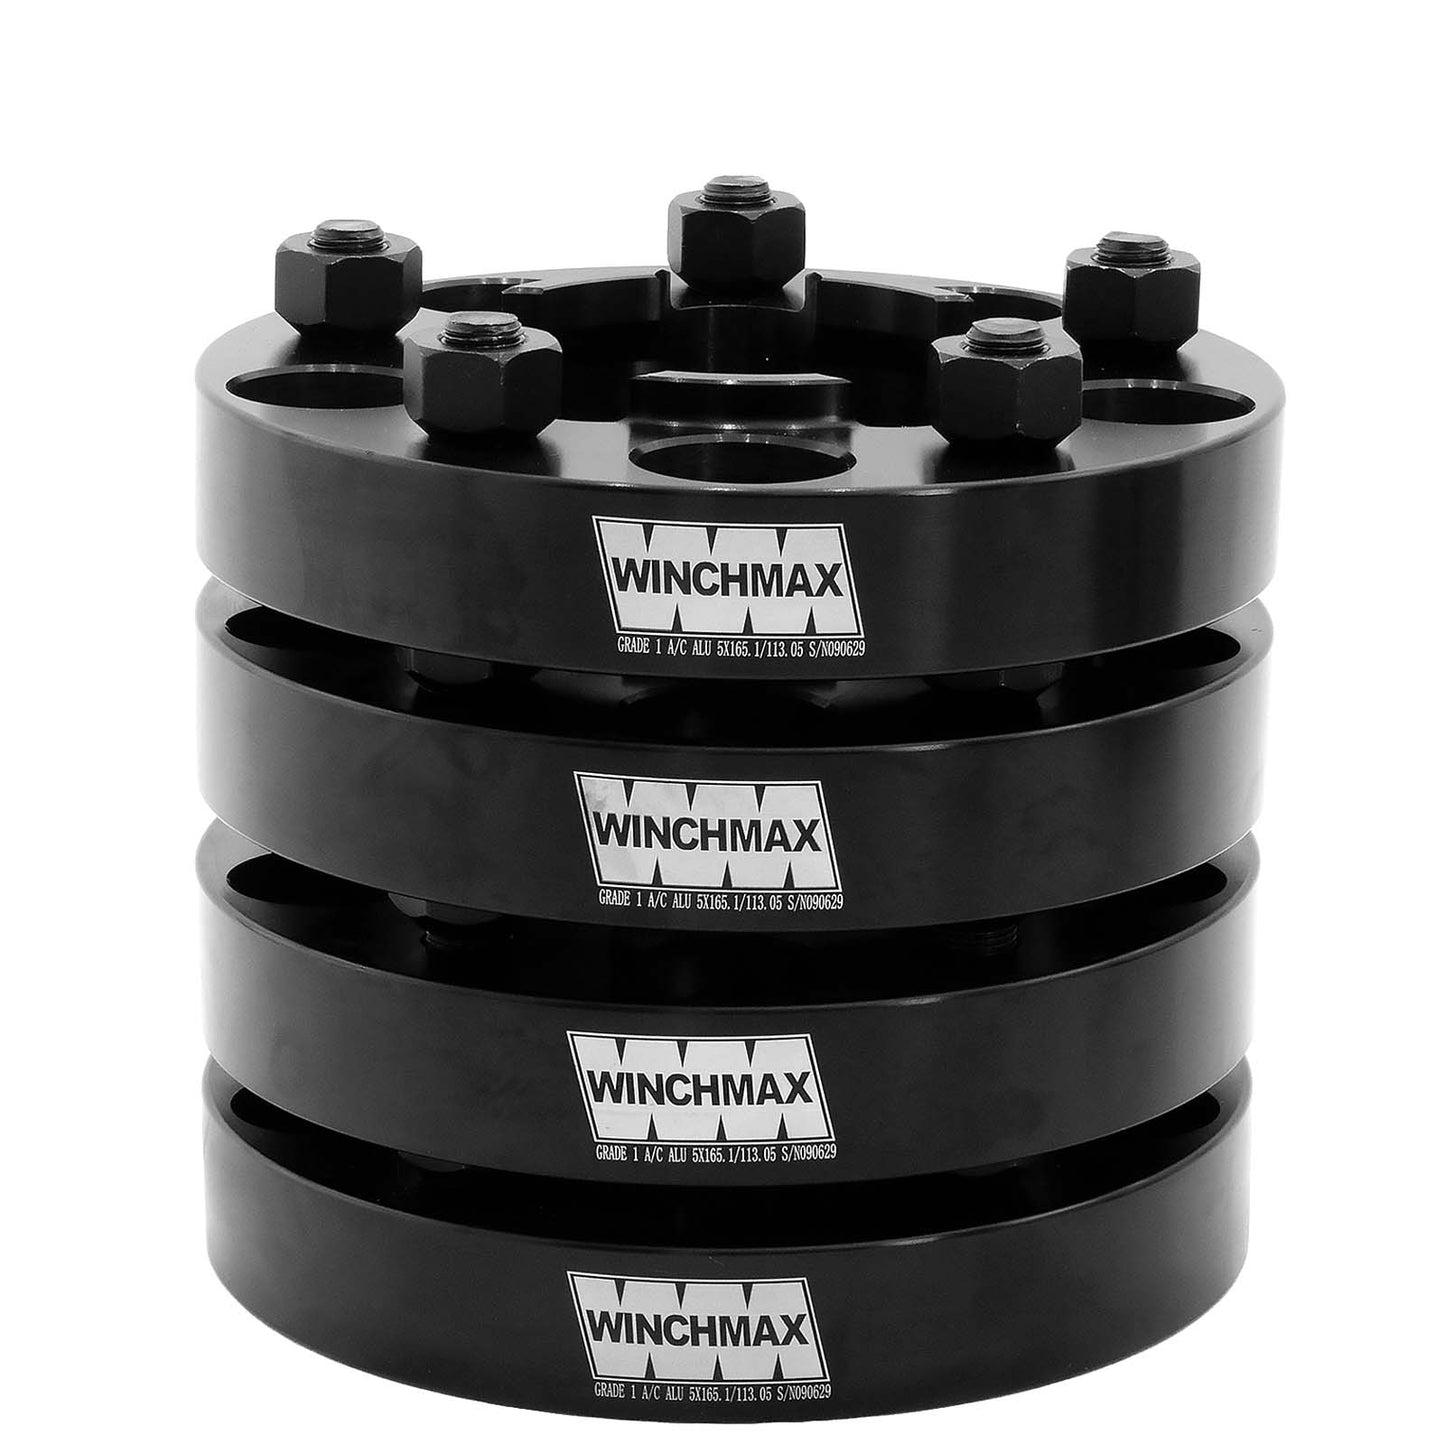
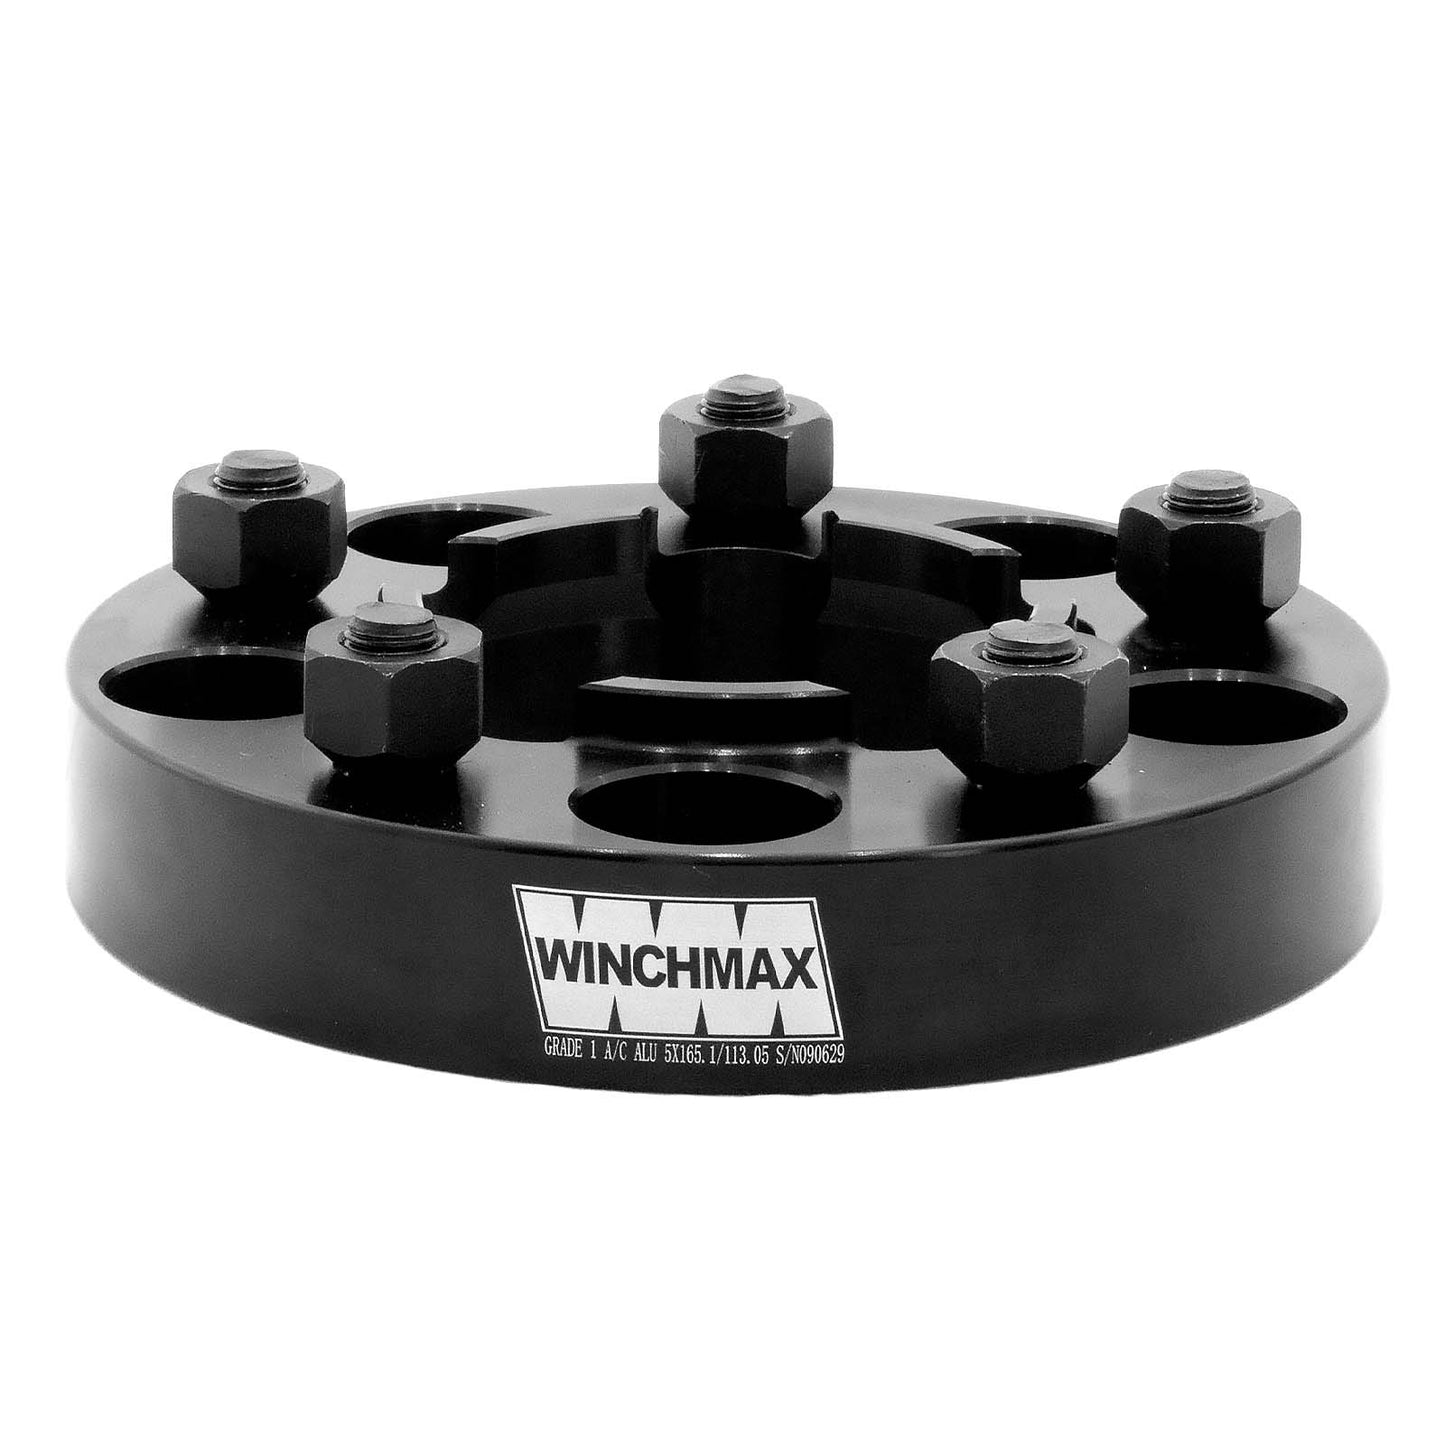
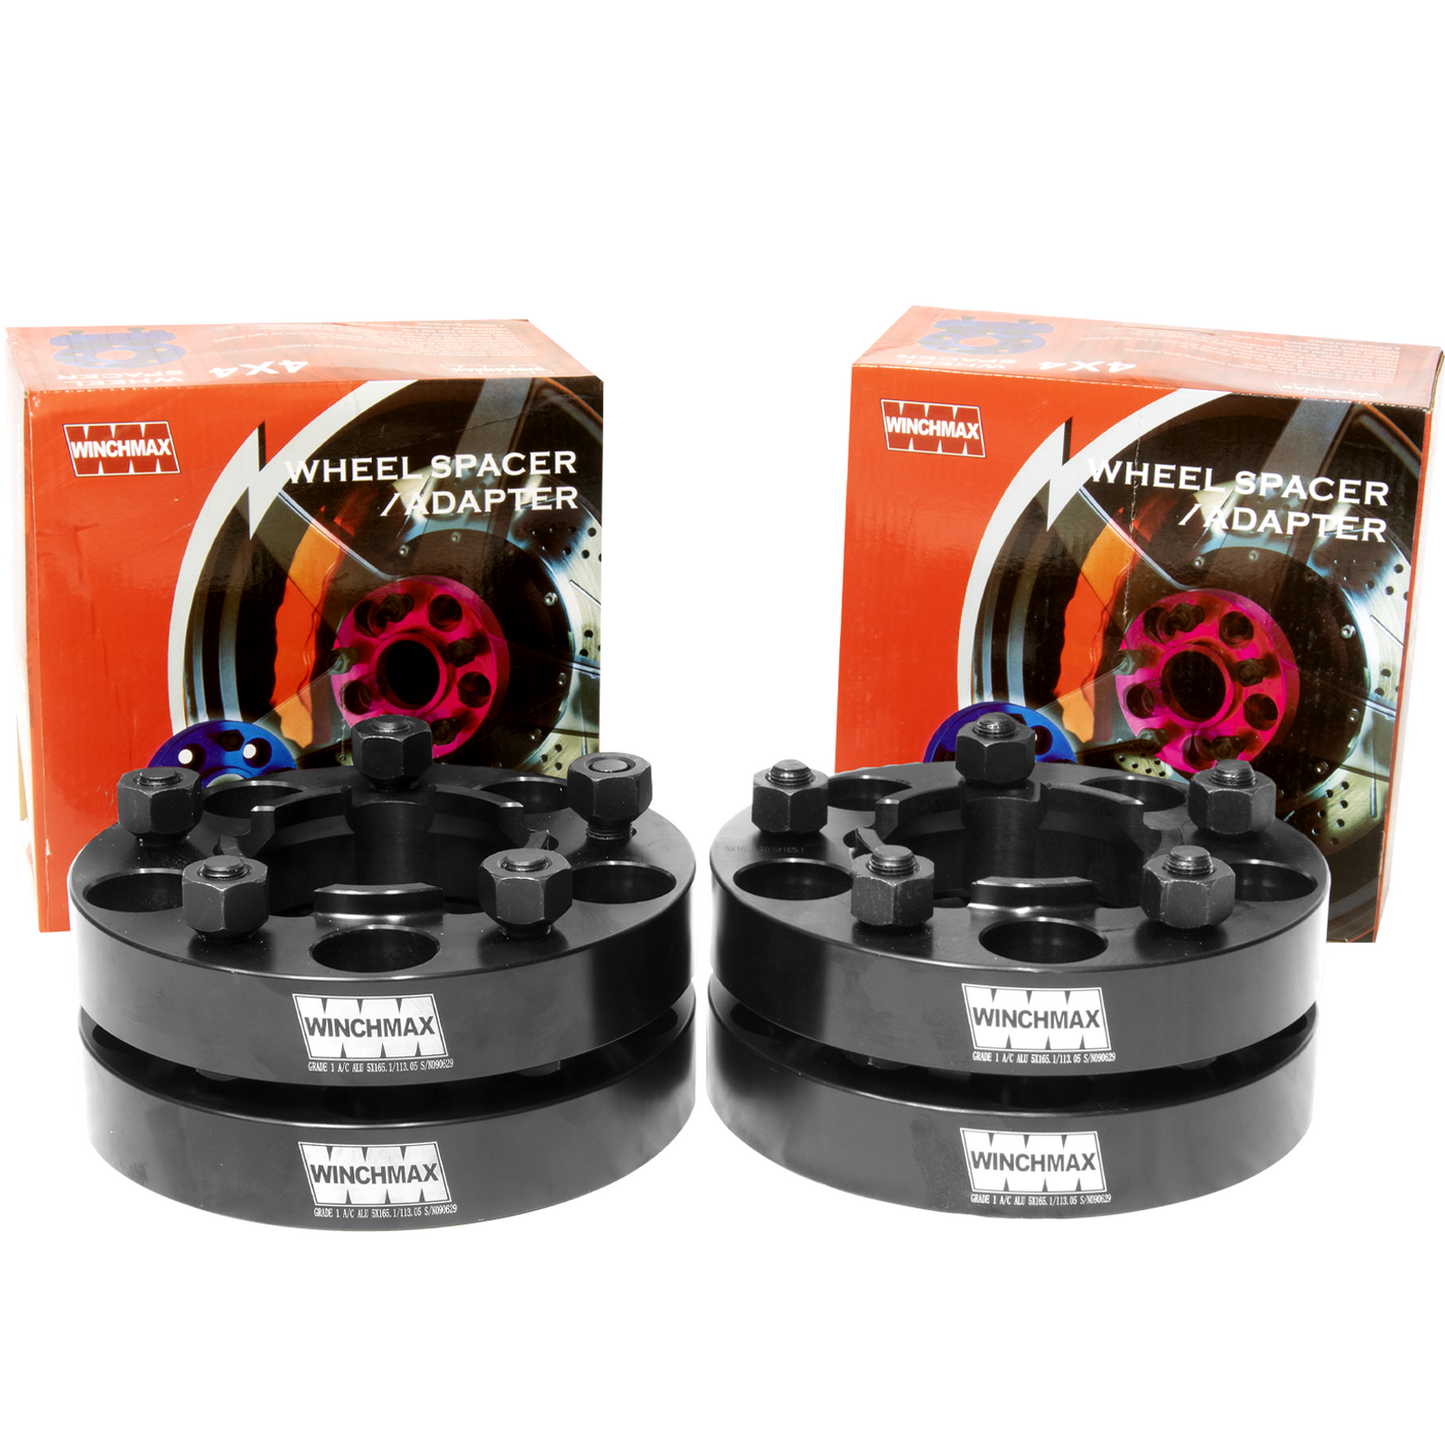
-
Land Rover Defender, Disco1, Range Rover Classic 30mm hjulbæreare Sorte T1
Originale WINCHMAX aluminiumshjulbæreare på 30 mm (sæt med 4)
Egenskaber- Design med centreringskrave til navet for nem montering og øget stabilitet.
- Præcisionsfremstillet ved hjælp af den nyeste CNC-fræseteknologi, hvilket sikrer perfekt pasform og finish.
- Fremstillet af 6061T6-aluminium i flykvalitet for lavest mulige vægt og maksimal styrke.
- Smukt anodiseret finish for forbedret korrosionsbestandighed og holdbarhed.
- Højtrækstyrke (klasse 10.9) på hjulbolte, hvilket er en betydelig forbedring i forhold til standard OE-Land Rover-dele.
- Øger akselstanden med 60 mm for forbedret håndtering og stabilitet.
- Giver mulighed for montering af bredere fælge og dæk.
- Passer til alle Land Rover 90, 110, Defender, Discovery 1 og Range Rover Classic med standardnav.
- Boultdiameter (PCD): 5 x 165,1 Gevind: 16 x 1,5 mm Centerboring: 113,1 mm
Momsfaktura medfølger alle salg. -
PDF-dokumenter
-
WINCHMAX wheel spacers are precision made and will offer you many years of use if fitted and used correctly. Fitting must be undertaken by a suitably competent person in accordance with the vehicle manufacturers handbook and the guidance below. We recommend engaging the services of a professional wheel/tyre specialist.

- Remove wheel in accordance with vehicle handbook.
- Clean the contact surfaces of the rim and the hub (emery cloth/wire brush) to ensure they are free from corrosion and any dirt or grit - check the spacer fits snugly on the hub.
- Secure spacer to the hub using the lug nuts supplied with the spacers. Tighten (crosswise pattern) to the same torque setting specified by the vehicle manufacturer for the wheel fitting.
- Check that the recesses in the rear of the rim will accommodate the stud protrusion from the spacer.
- Re-fit the wheel onto the spacer in accordance with the vehicle handbook.
- Check for security and adequate clearance between the wheel and the vehicle throughout the full steering range 'lock to lock'.
- Re-check torque settings after 20 then 100 miles of driving and as required thereafter.
- If using blind lug nuts please ensure that they tighten correctly against the rim and do not bottom out against the end of the stud.
